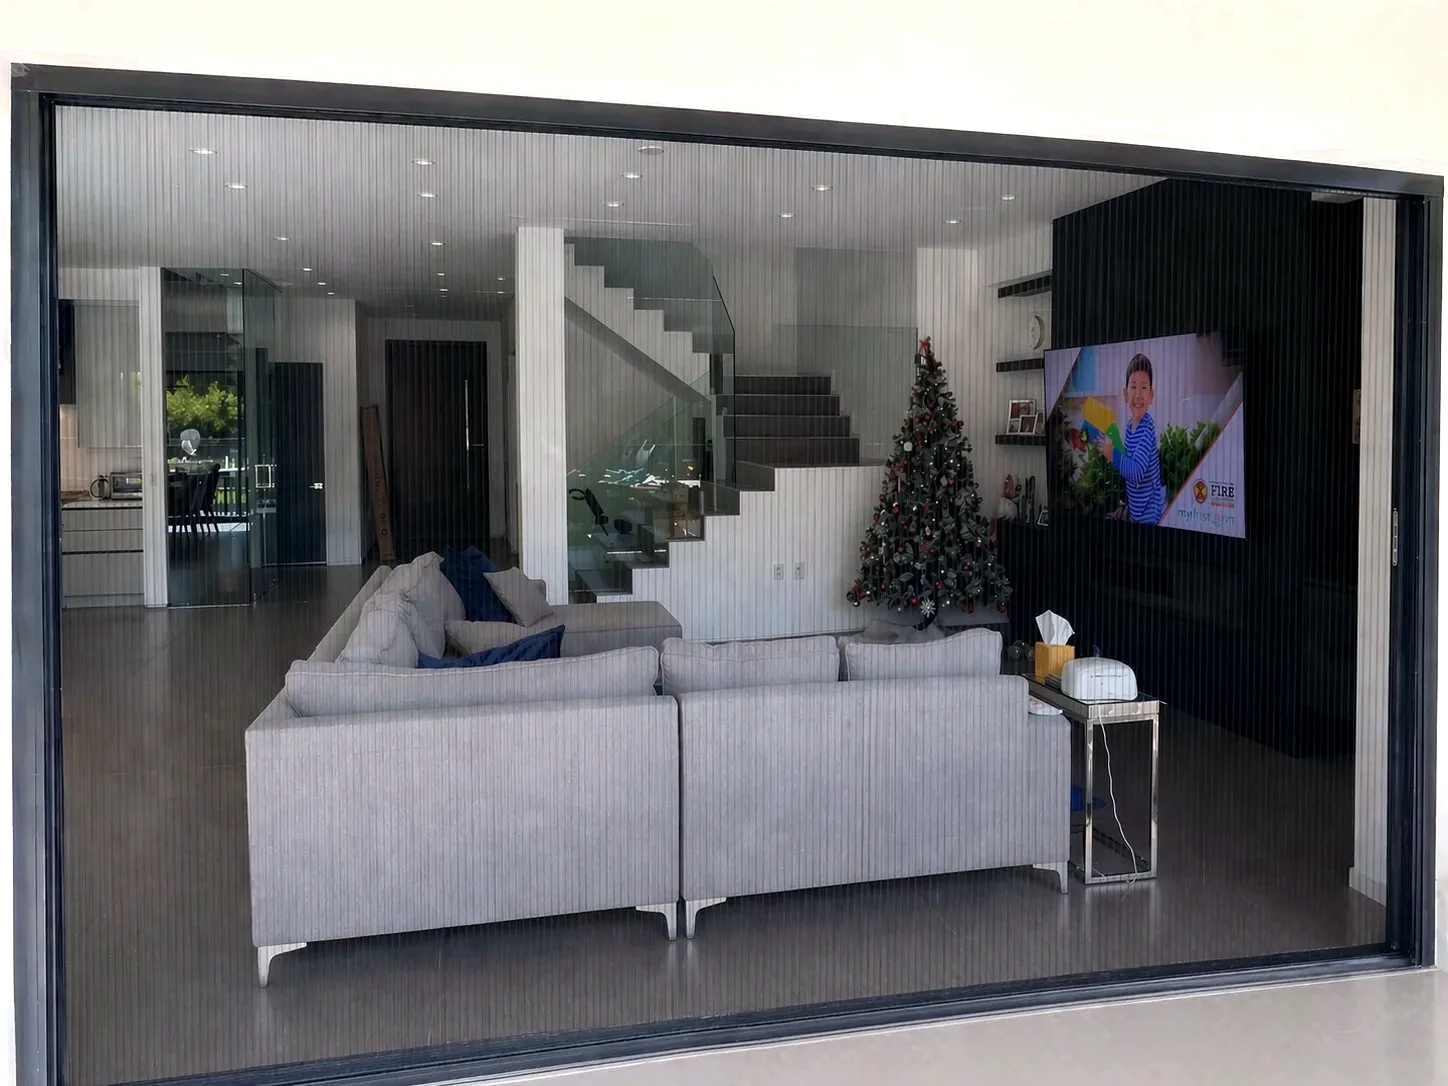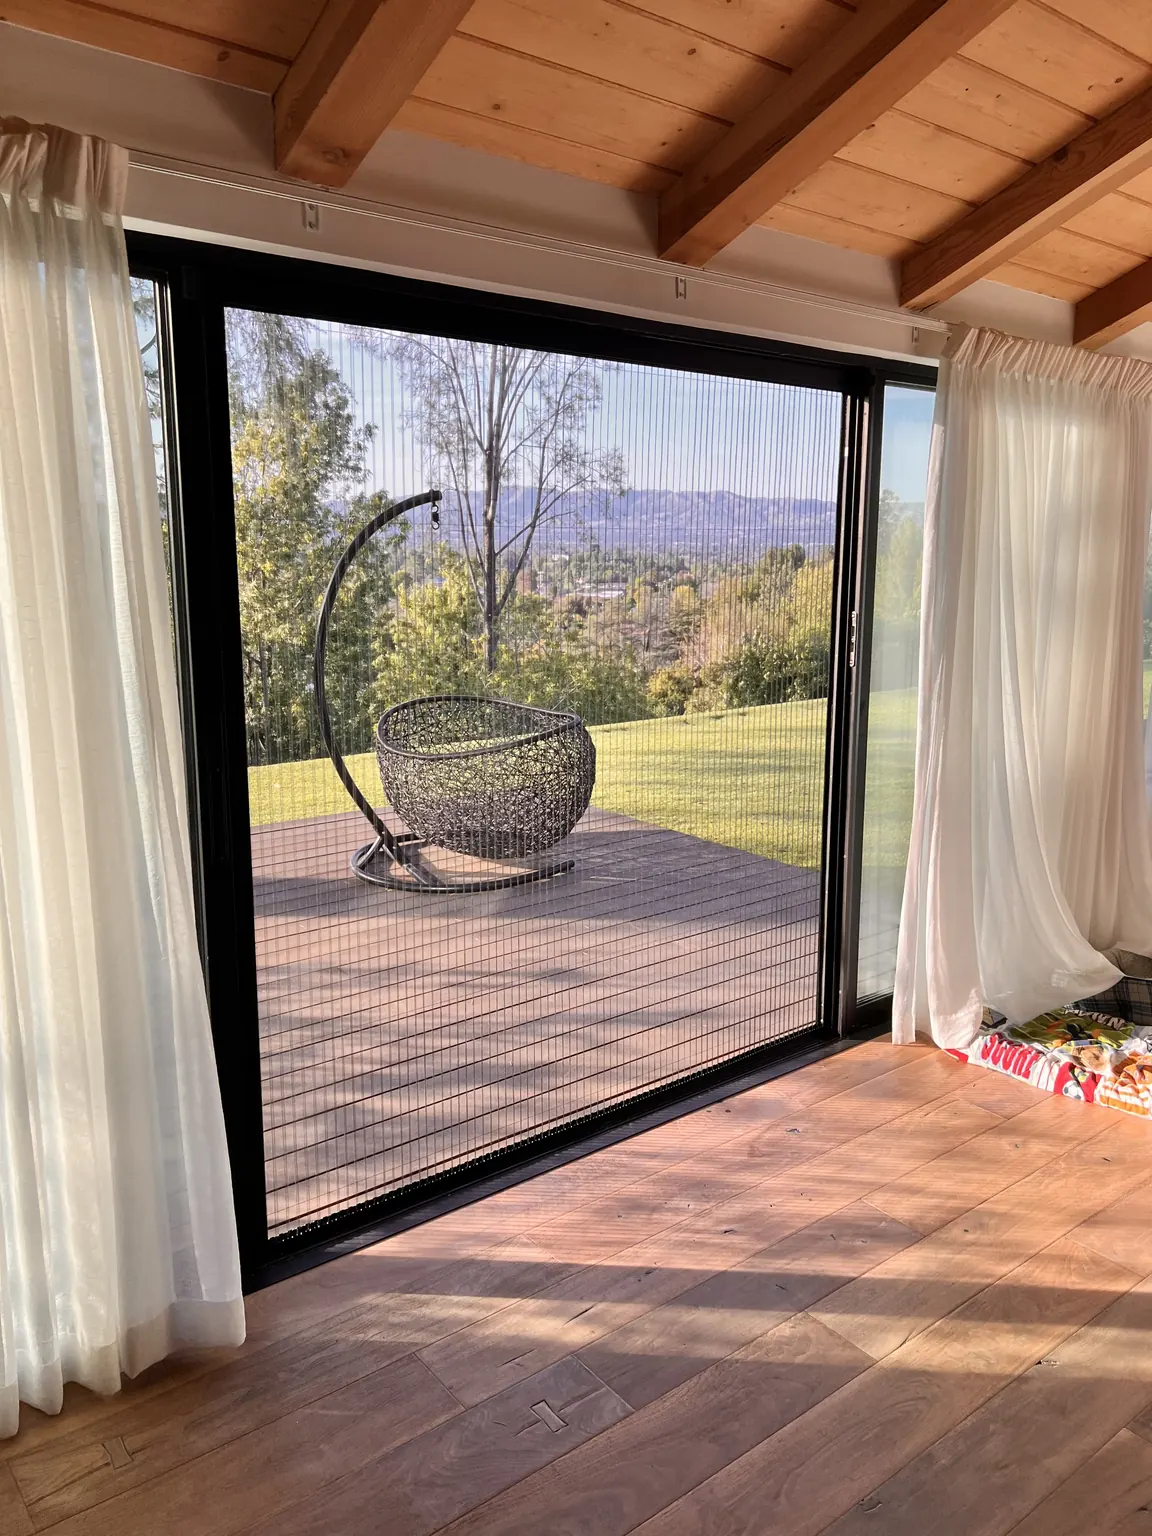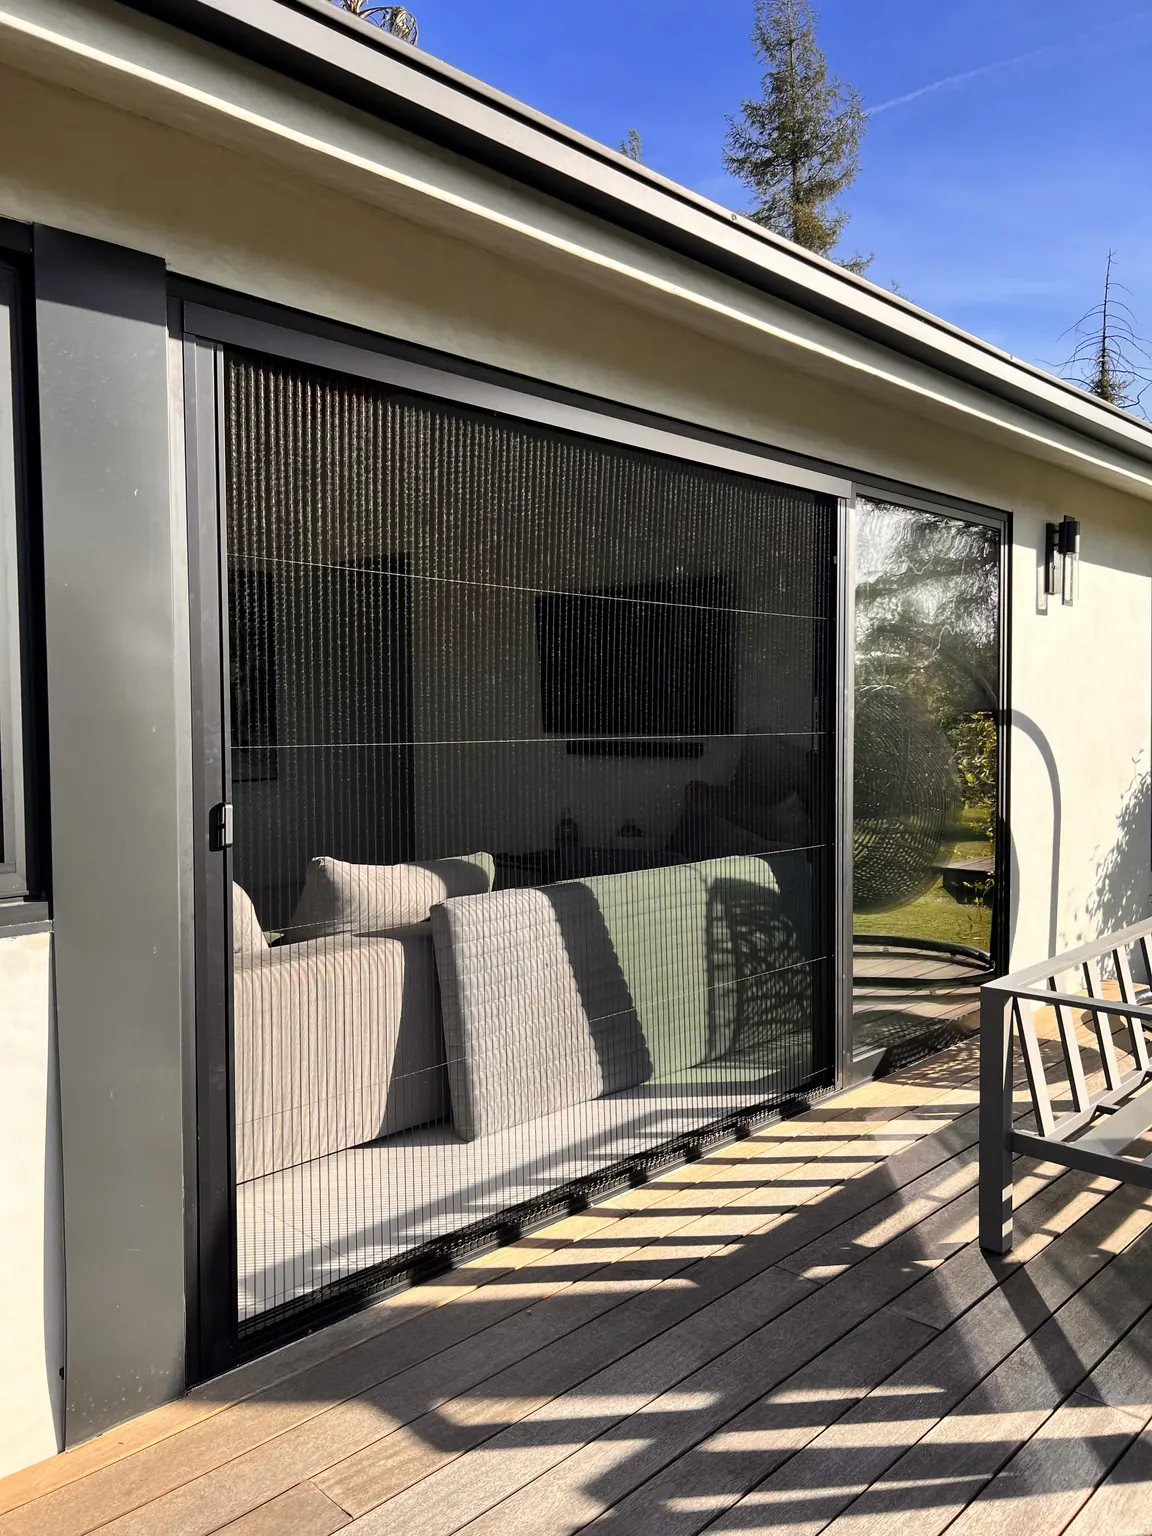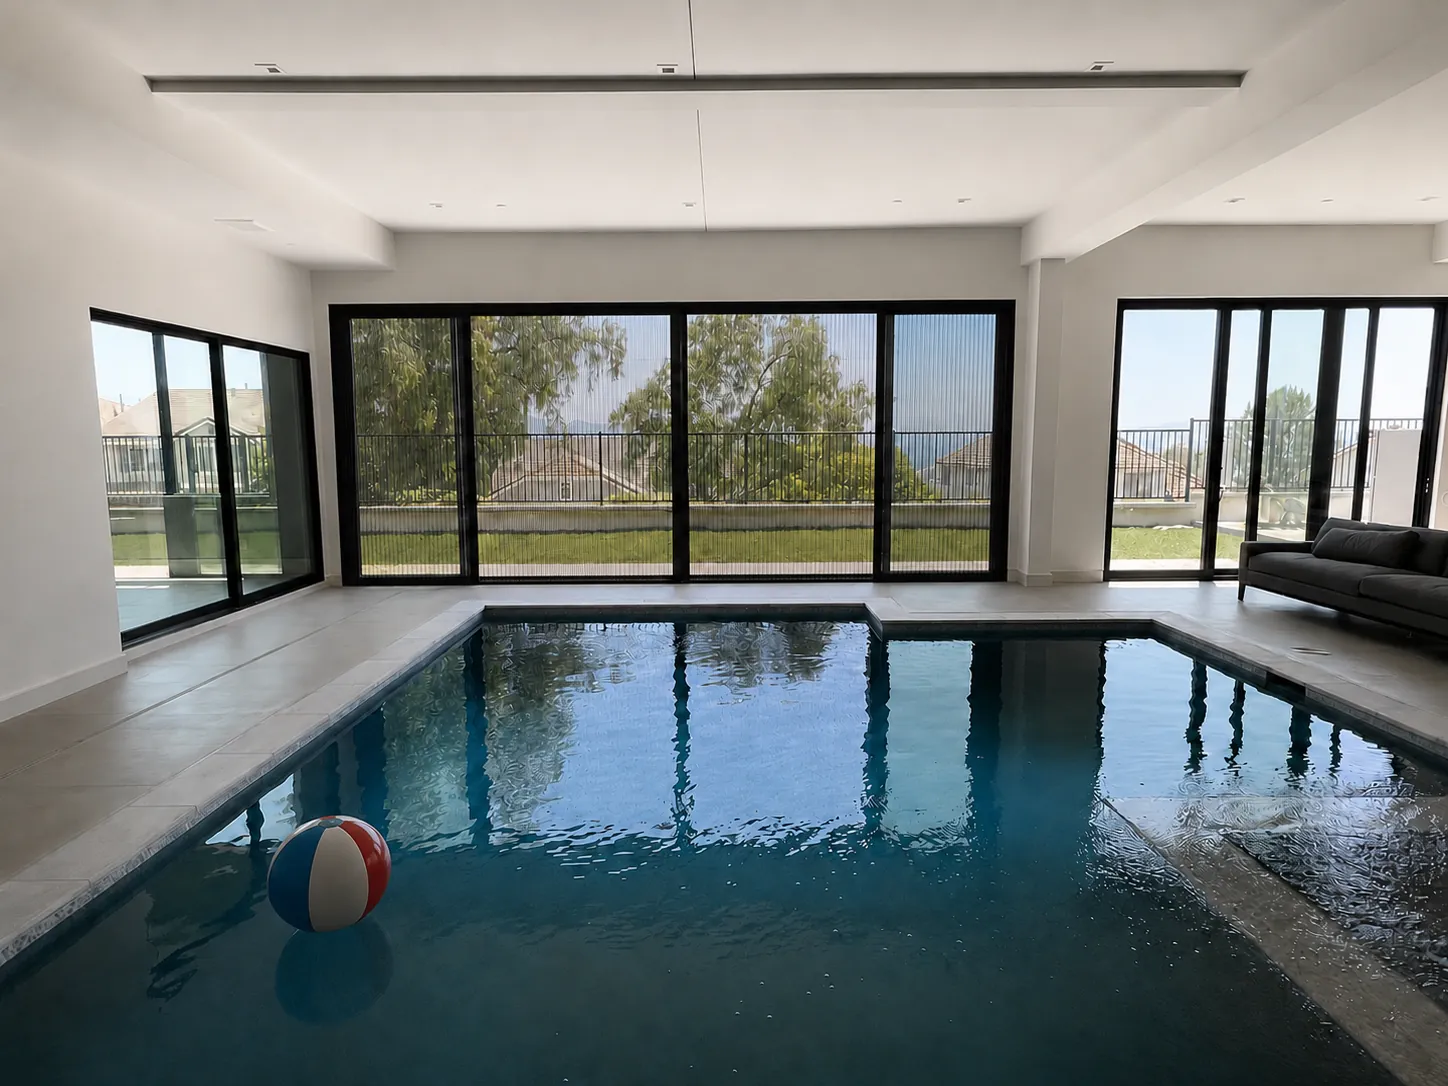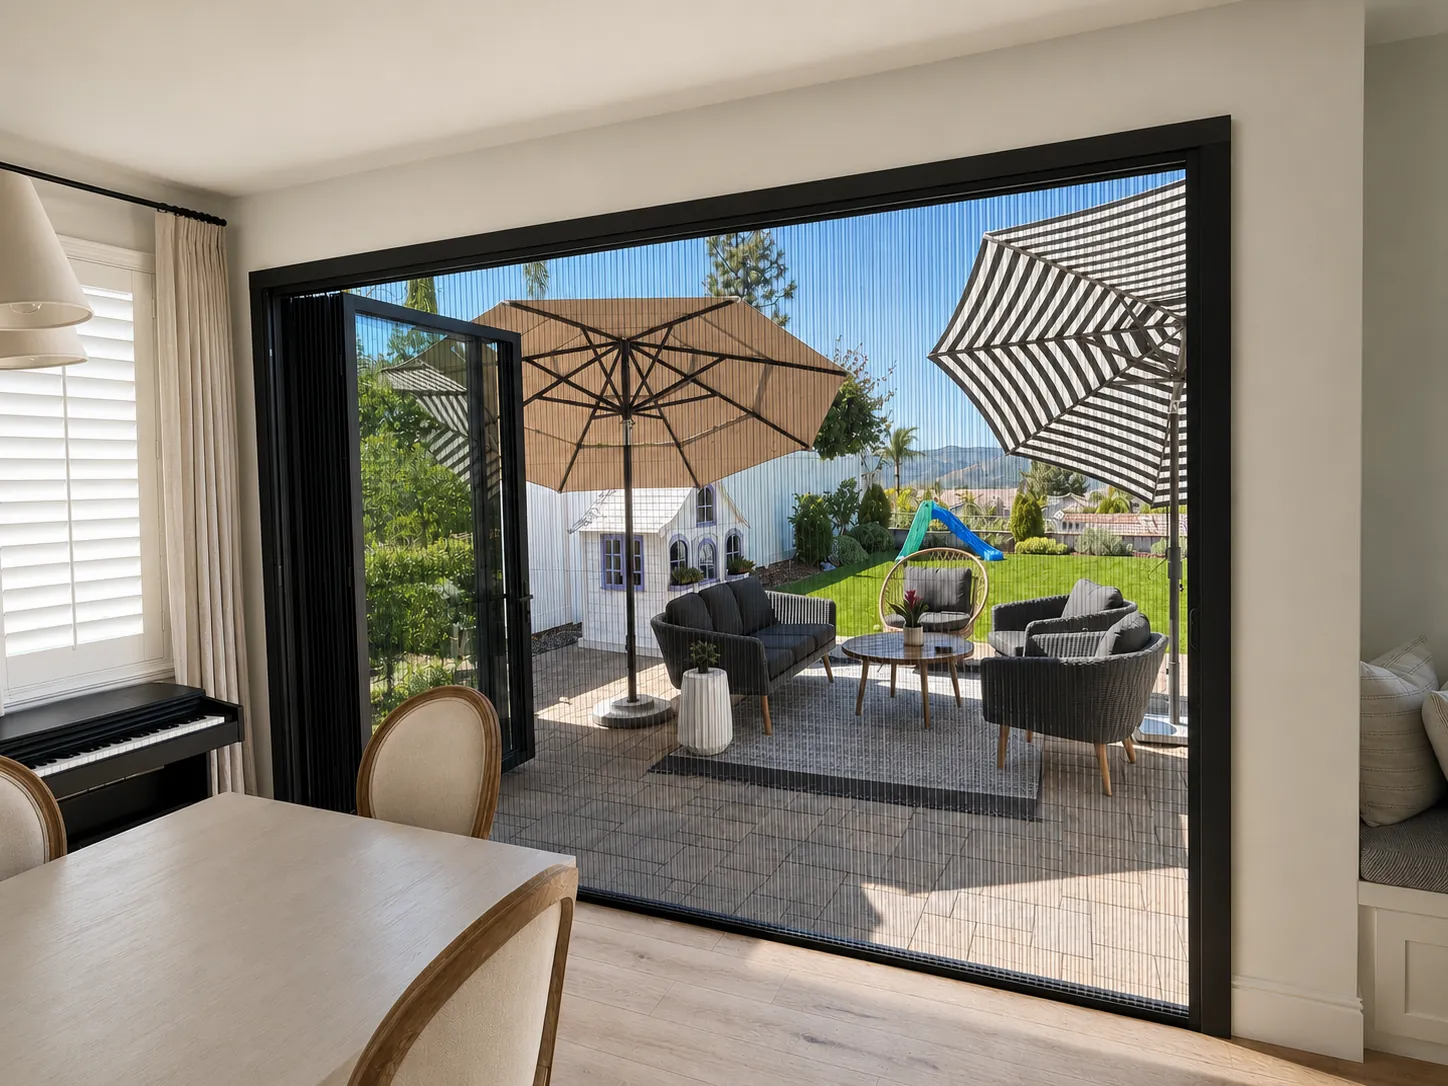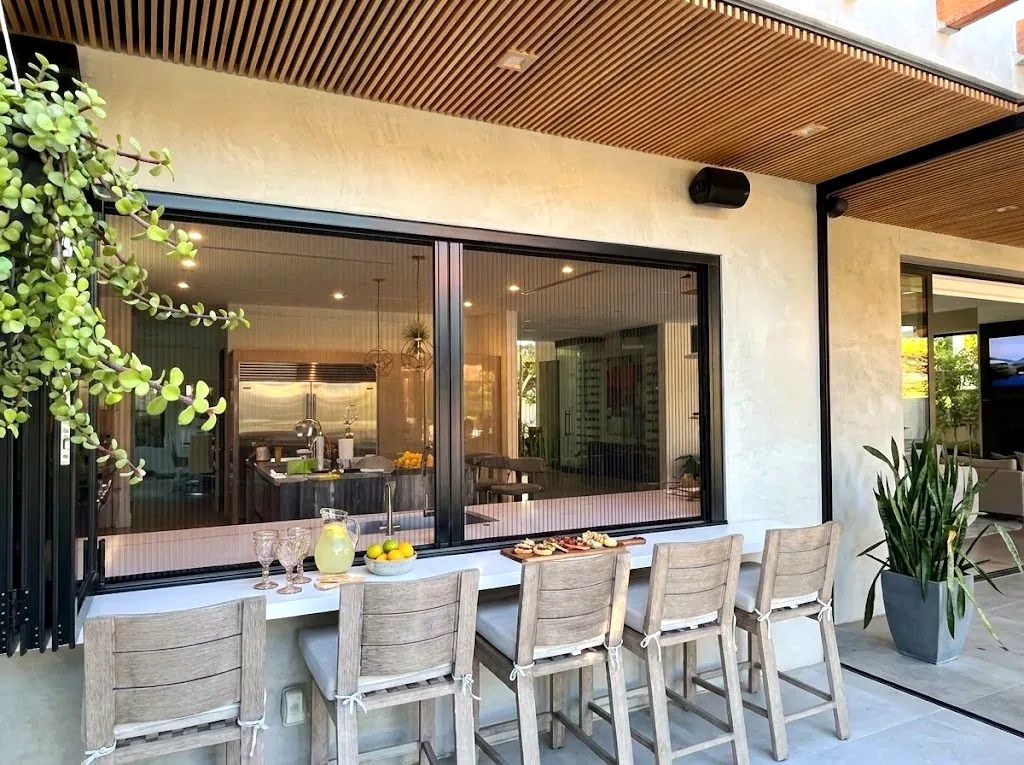
Aire pleated screen enclosing an outdoor bar and kitchen at an LA home
Aire — Pleated screening system

Engineered for
modern openings.

Scroll ↓
The system
One system,
made to the opening.

There are no stock sizes. Every Aire is built to the exact width and height of a single opening, and the proportions of that opening decide how the system comes together.

Made to measure — up to 120″ wide and 120″ tall as a single span, and up to 240″ wide across a dual.

CloseOpen
Enter your opening
Width 120 in
Height 96 in
Cartridge
XL
Span
Single
Mount
Inside
Span
Lateral Two cartridges joined into one continuous span — a single pull bar draws the whole screen across from one side. Central Two cartridges, one per jamb — each side pulls to the middle and the two meet, closing magnetically at the center.
Finish
Only four parts
Four parts, nothing spare
Tap a part to see what it does. Everything that makes the screen move lives inside the cartridge, assembled and tensioned at the factory.
Tap a part on the drawing to highlight it · drag Close–Open to extend the screen
How to install
Five steps,
in order.

Aire arrives finished — no cutting, no field assembly. Set the frame, lay the run guide, and drop the cartridge in. Start with the measurements; everything else follows the parts.
Step 01
Measure the opening
Measure width and height at three points each, corner to corner — the factory adds the ½″ closure allowance, so record the opening as it is. Then measure the recess depth: enough depth and Aire mounts inside the opening; too shallow and it face-mounts to the wall.
Step 02
Fasten the top track
Mount the top track to the head of the opening and fasten it off. It runs the full width and carries the pull bar, so getting it level sets up everything below.
Step 03
Fasten the jambs
Set both jambs plumb and fasten them to each side. One jamb anchors the screen; the other receives the magnetic close.
Step 04
Peel & stick the run guide
Peel the backing off the run guide and press it to the floor along the sill line. It's the low bottom track the chain rides in, keeping the screen plumb across its travel — and just ¼″ high, so it sits nearly flush to the floor.
Step 05
Clip in the cartridge
Set the cartridge into the top track and engage it. It ships built and tensioned, so once it's in, the screen is ready to run.
Bring your opening
together.

Whether you're specifying for a project or planning a single opening, our team will help you get the configuration right.

Discuss your project Download spec sheet